This website is no longer in use. Please visit our new website http://ericksonminiatures.com!
Proper Fit of a Halter

One of the largest factors that can contribute to a horse pulling back on the lead or refusing to go forward is improper fit of the halter. Like any other piece of tack it needs to fit properly in order to do its job. If the halter is too tight or loose and not positioned properly on the horse’s head it can cause pain or discomfort which can lead to behavior issues. By correctly fitting and positioning your horse’s halter you could find him to be much more accepting to being caught and lead.
The main pieces of the halter are
- Crownpiece – Runs over the top of the horse’s head across the poll. It should be slightly behind the horse’s ears, but not touching or rubbing against them.
- Throatlatch – Passes underneath the horse’s head. You should be able to slide 2-3 fingers between the halter and throat to ensure it is loose enough the horse can still swallow and breath, but tight enough that it won’t catch on something.
- Cheek piece – Should run parallel to the check bones, across the side of the horse’s face.
- Noseband – Goes around the horse’s muzzle. Should lay half way between the horse’s eyes and nostrils.

In this picture the noseband is to far down on the horse’s muzzle and he could easily rub on the fence and slide it off over his nose. Also the crownpeice is too far back from the horses ears. When you pull the lead the noseband will force down on the horses sensitive muzzle.

This halter is too high up on the horse’s face. The crownpeice was buckled too tight which pulled the nose band upwards.

If your horse wears his halter outside all the time it’s best to use a breakaway halter. A breakaway halter has a small piece of leather underneath the side buckle which will break under pressure. So if horse the catches his halter on a branch or post the leather will snap and the halter will slide off his head, opposed to him fighting and pulling which will most likely lead to injury.

Finally, in this last picture the halter is fitted properly. It is halfway between the eye and nostril, and close to the horse’s ears, but not touching. The throatlatch isn’t too tight or loose and the cheekpieces are positioned correctly.

Valentines Day
Happy Valentines Day!


How to Tie a Quick Release Knot
Anyone dealing with horses of any size should know how to tie a quick release knot. If your horse starts to rear or pull aggressively against the rope you can quickly remove it from the post without fiddling with untying a knot.
1. Start by wrapping the lead rope once around the post.

2. Next cross one rope over the other.

3. Then take that rope and pull it half way up between the other rope and the post, making a loop.


4. Next make another loop through your first loop with that same piece of rope. The other end of your rope you will not be doing anything with, as it will be tied to your horse.

5. Pull it tight until you have a nice sized loop, being careful not to pull the rope all the way through.

6. Then you can make yet another loop through that loop.
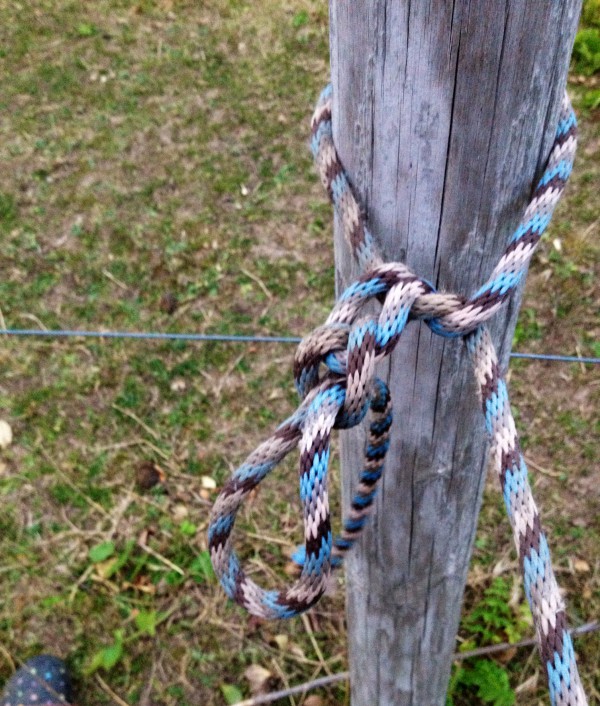
7. Keep going until your reach the end of your rope or the desired amount of loops.

After you practice it many times you should be able to do it quite fast without even thinking about. To see if you have correctly tied the knot, pull on the end your horse would be tied to. No mater how hard you pull the knot should not budge. Now if you pull on the other end of the rope, the side you made your loops on, the rope should instantly unravel very quickly and you should not have to do any untangling.

How to do a Running Braid on your Horse’s Mane
Braiding is among one of my favorite things to do with my horses. Here I’ll show you how to do a Running Braid.
- Start with a clean brushed mane.

1. Begin at the top of the mane behind the ears and separate out three equal sized pieces of hair.

2. First, take the piece of hair on the right and cross it over the middle strand.

3. Next, take the piece of hair on the left and cross it over the middle.

4. Take the piece on the right and cross it over the middle again.

5. Then take the piece on the left and cross it over the middle and next separate out a new piece of hair from the mane and add it to the middle.


6. Next take the piece on the right and cross it over the middle.

7. Then repeat steps 5-6 until you reach the end of the mane where you can tie it off with a rubber band that matches the color of your horse’s hair.


Weekend #1
Hi, my name is Anna Erickson and I own Erickson Miniature Horses. This weekend my sister helped me create this website and I’m going to talk about my horses. I have eleven horses and nine of them are AMHA registered miniature horses. I have trained them to jump, do tricks, go through an obstacle course, and ground drive.
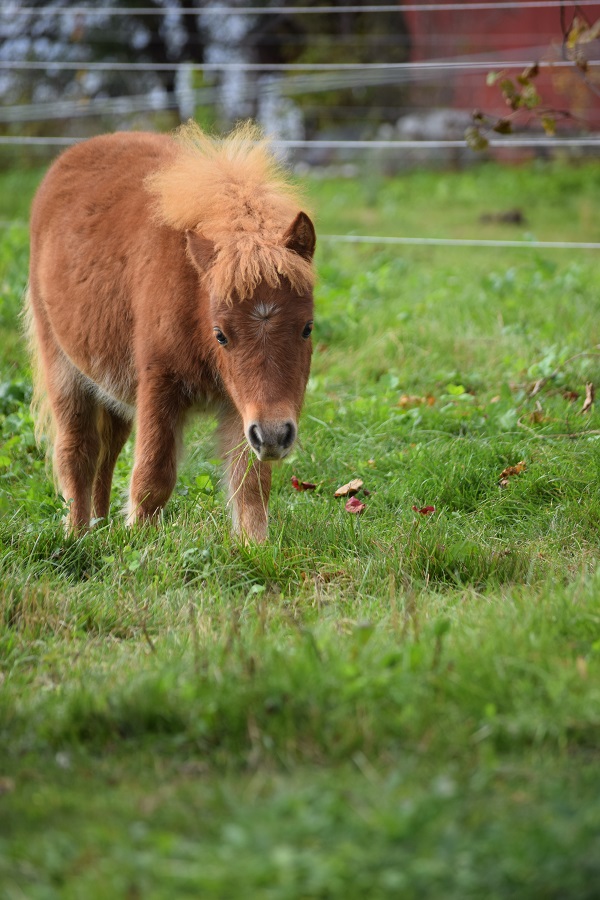
This is Luna. She is 5 months old and both her parents are AMHA registered.

This is Luna and Dakota, she is AMHA registered and is 34 inches tall.
Be sure to follow us on Instagram.
